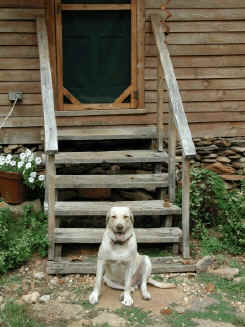
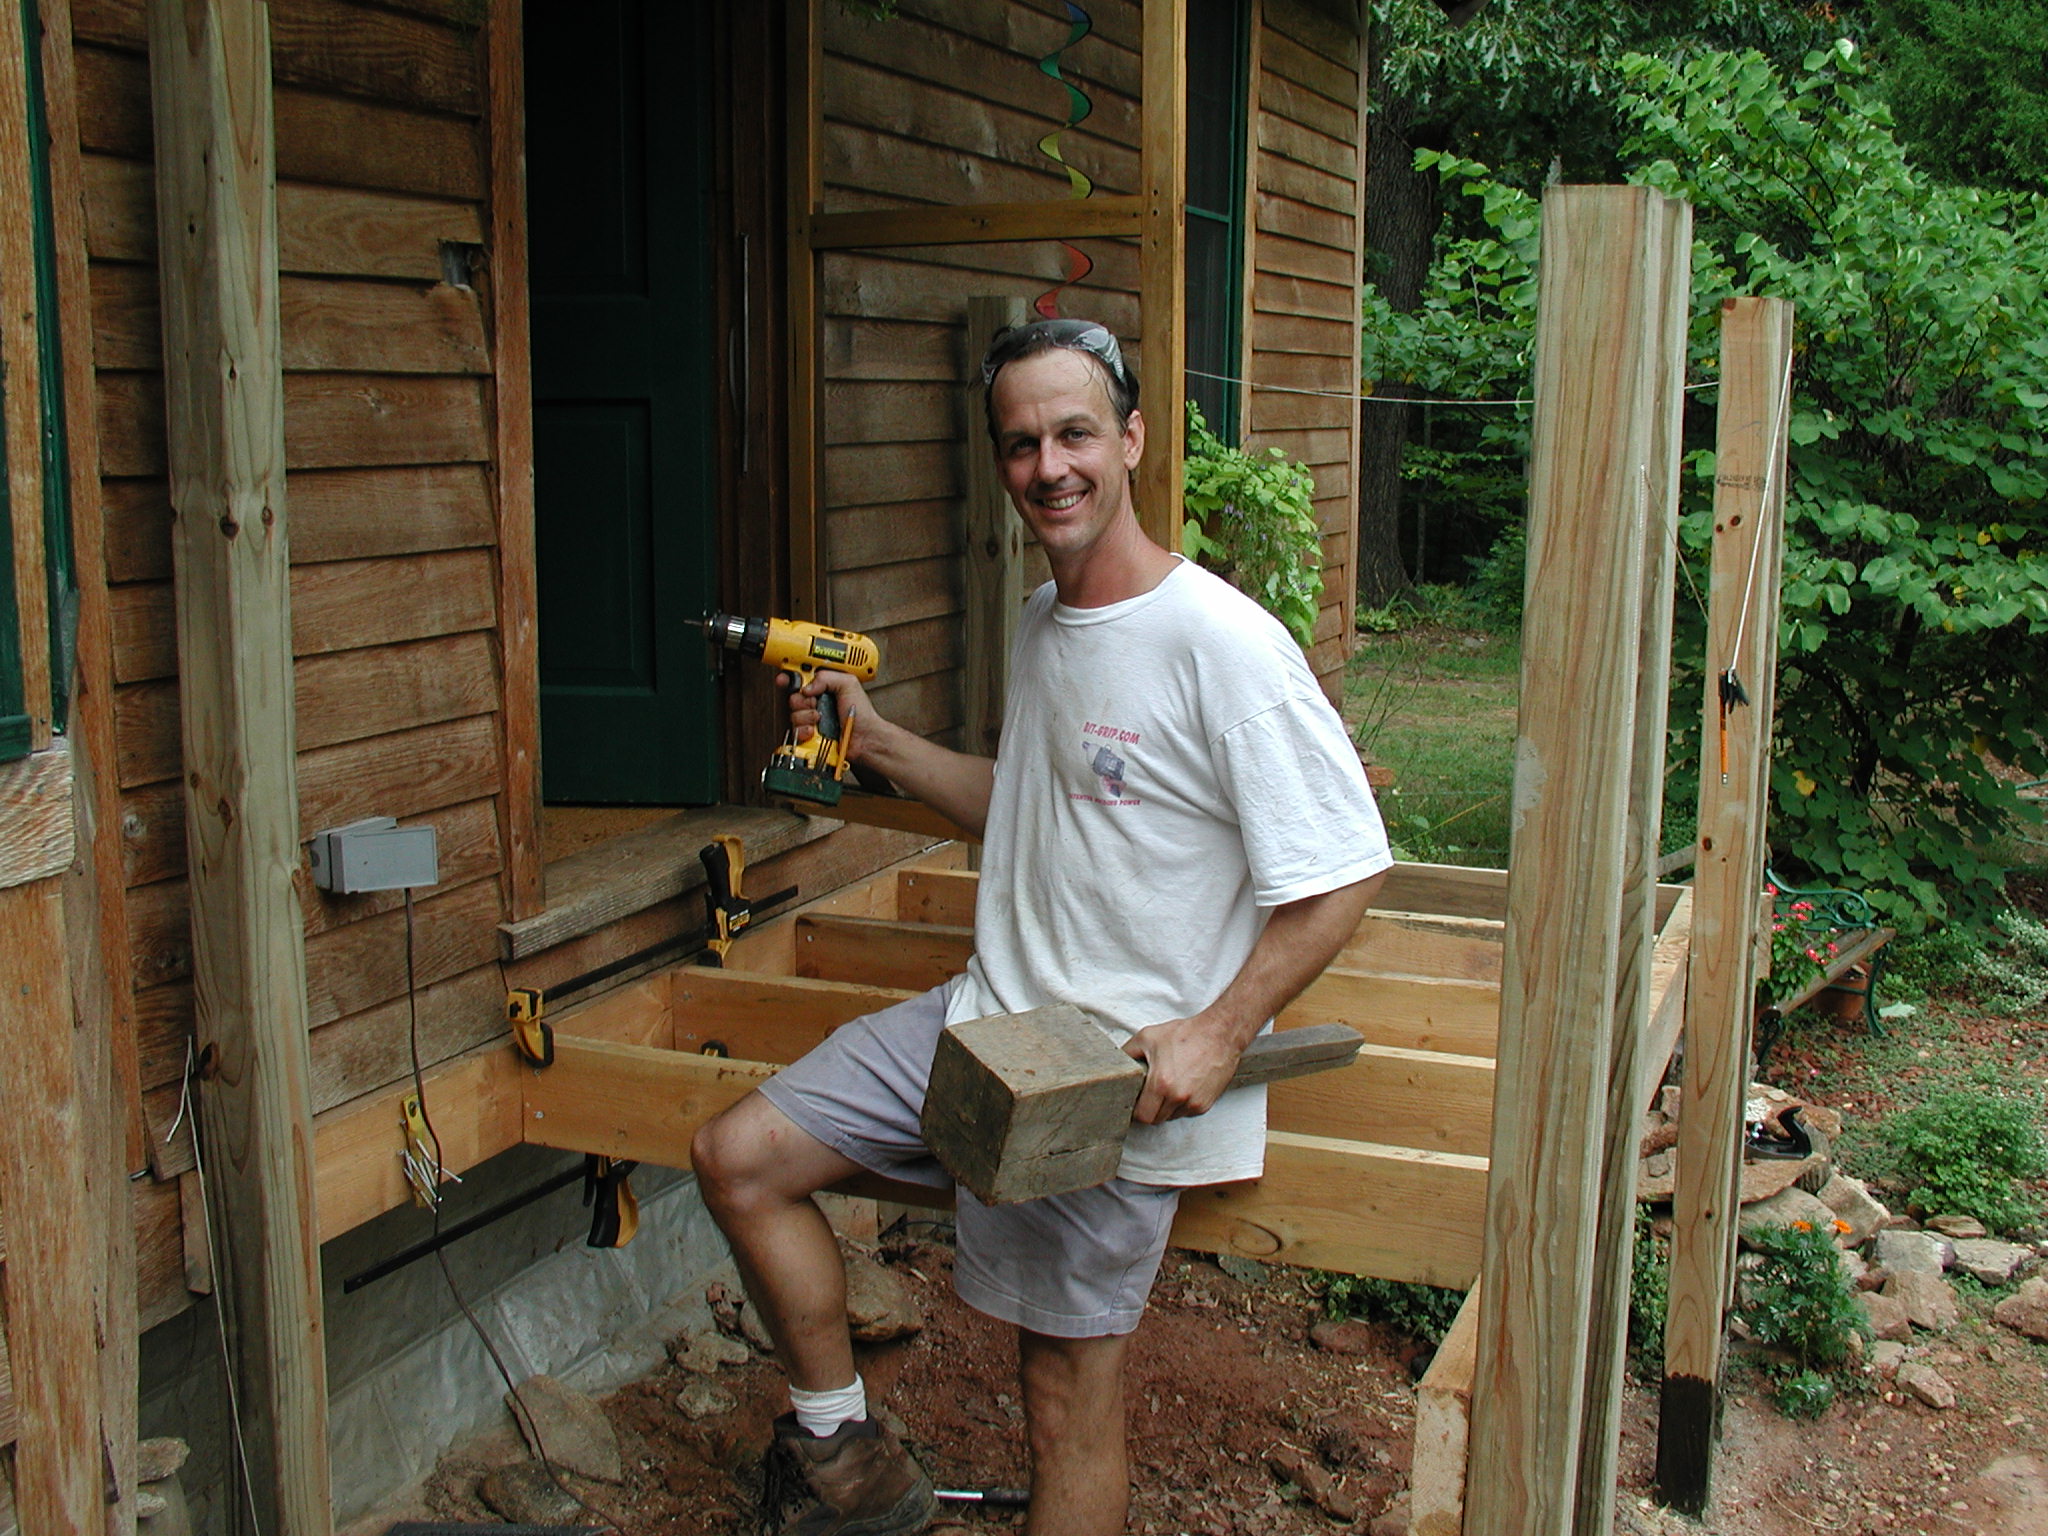
The Ugly Steps
We all
have a nemesis. For Superman, it was Lex Luther... for Bill Clinton, it
was Kenneth Star. Sometimes these haunting figures aren't people at
all. Mine are projects I did while still new to construction but projects that still stand (some just barely) &
mock me on a daily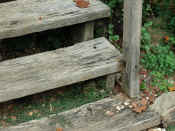 basis. Even some of my smart aleck friends say things
like "Look at these
pathetic steps. If I was you, I'd be embarrassed to go home at
night."
basis. Even some of my smart aleck friends say things
like "Look at these
pathetic steps. If I was you, I'd be embarrassed to go home at
night."
Alright already! Time to build some new steps.
1st
step: This part is easy: Drive around and look at steps/porches on a
variety of houses. Try
to figure out what you like and don't like about these types of
structures. Since this project is so easy to build, I
knew that my main task would be making it look as if it was an original part of
the home, not some cheap afterthought.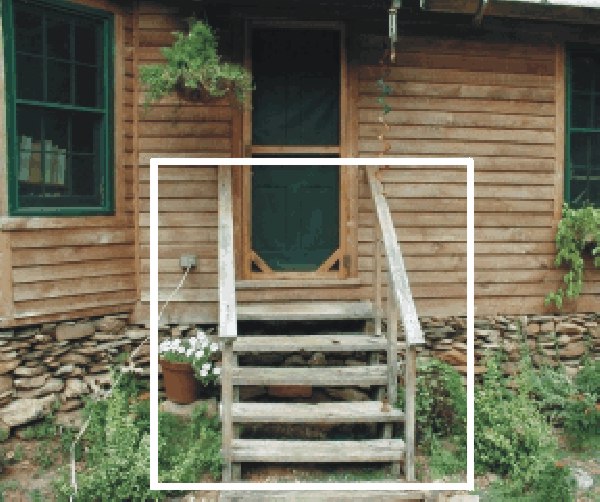
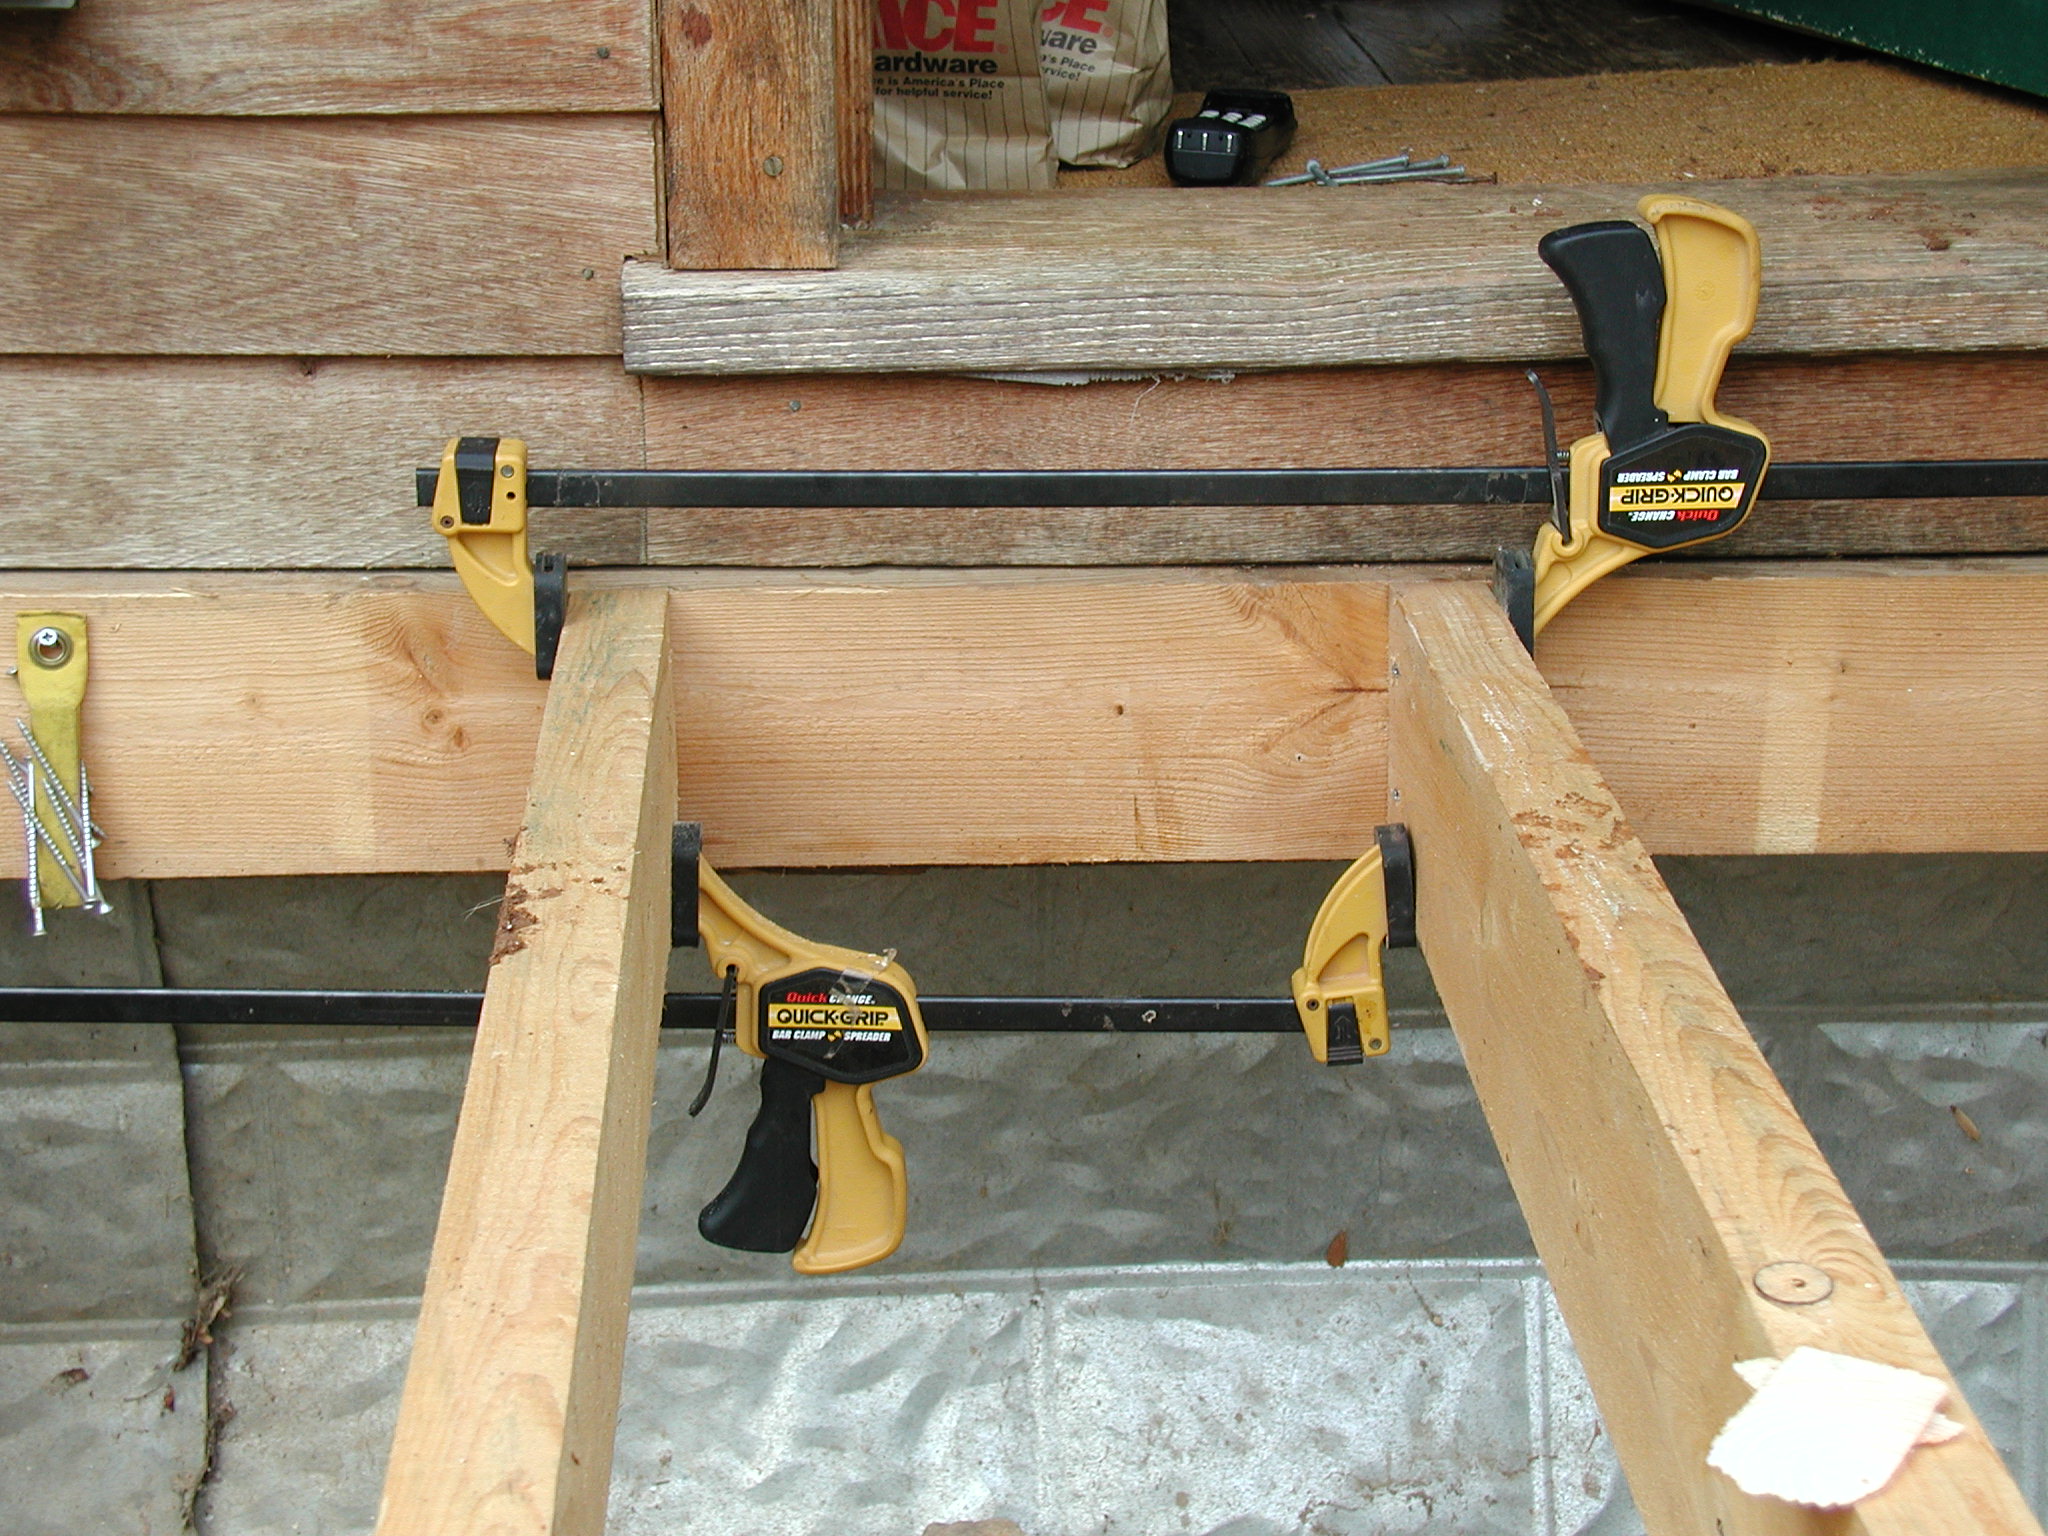
2nd step: Measure the space available for the structure. I used a staple gun to attach strings to create an outline of the planned structure. I have a bay window to the left of the steps. I decided that I should leave a small space between the edge of the window and the edge of the porch for appearance sake. Since I wanted the structure's sides to be equidistance from the door, my size was now determined.
 3rd
step: Make a simple drawing. Don't be overwhelmed by this. Why do a
drawing? It is a simple way to determine the materials needed, to spot
potential problems, and to show your wife that you really do have a plan.
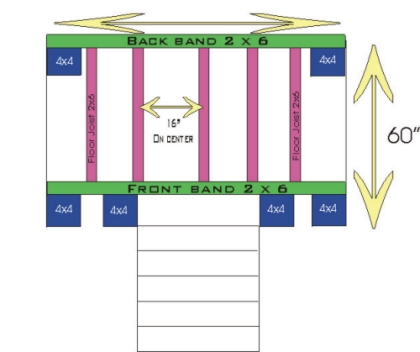
From studying my drawing, I saw that doing a standard 2x6 band around the
outside of the structure would be ugly. As you can see in the drawing to
the left (click for enlargement), I decided to put my front structural band BEHIND my 4x4
posts. Also, I've opted to not use 2x6 lumber on the sides either. On
these exposed surfaces, I will use a wood that matches my house - 1" WHITE
OAK. The floor will be laid parallel to the steps. The floor will
also be white oak.
3rd
step: Make a simple drawing. Don't be overwhelmed by this. Why do a
drawing? It is a simple way to determine the materials needed, to spot
potential problems, and to show your wife that you really do have a plan.
From studying my drawing, I saw that doing a standard 2x6 band around the
outside of the structure would be ugly. As you can see in the drawing to
the left (click for enlargement), I decided to put my front structural band BEHIND my 4x4
posts. Also, I've opted to not use 2x6 lumber on the sides either. On
these exposed surfaces, I will use a wood that matches my house - 1" WHITE
OAK. The floor will be laid parallel to the steps. The floor will
also be white oak.
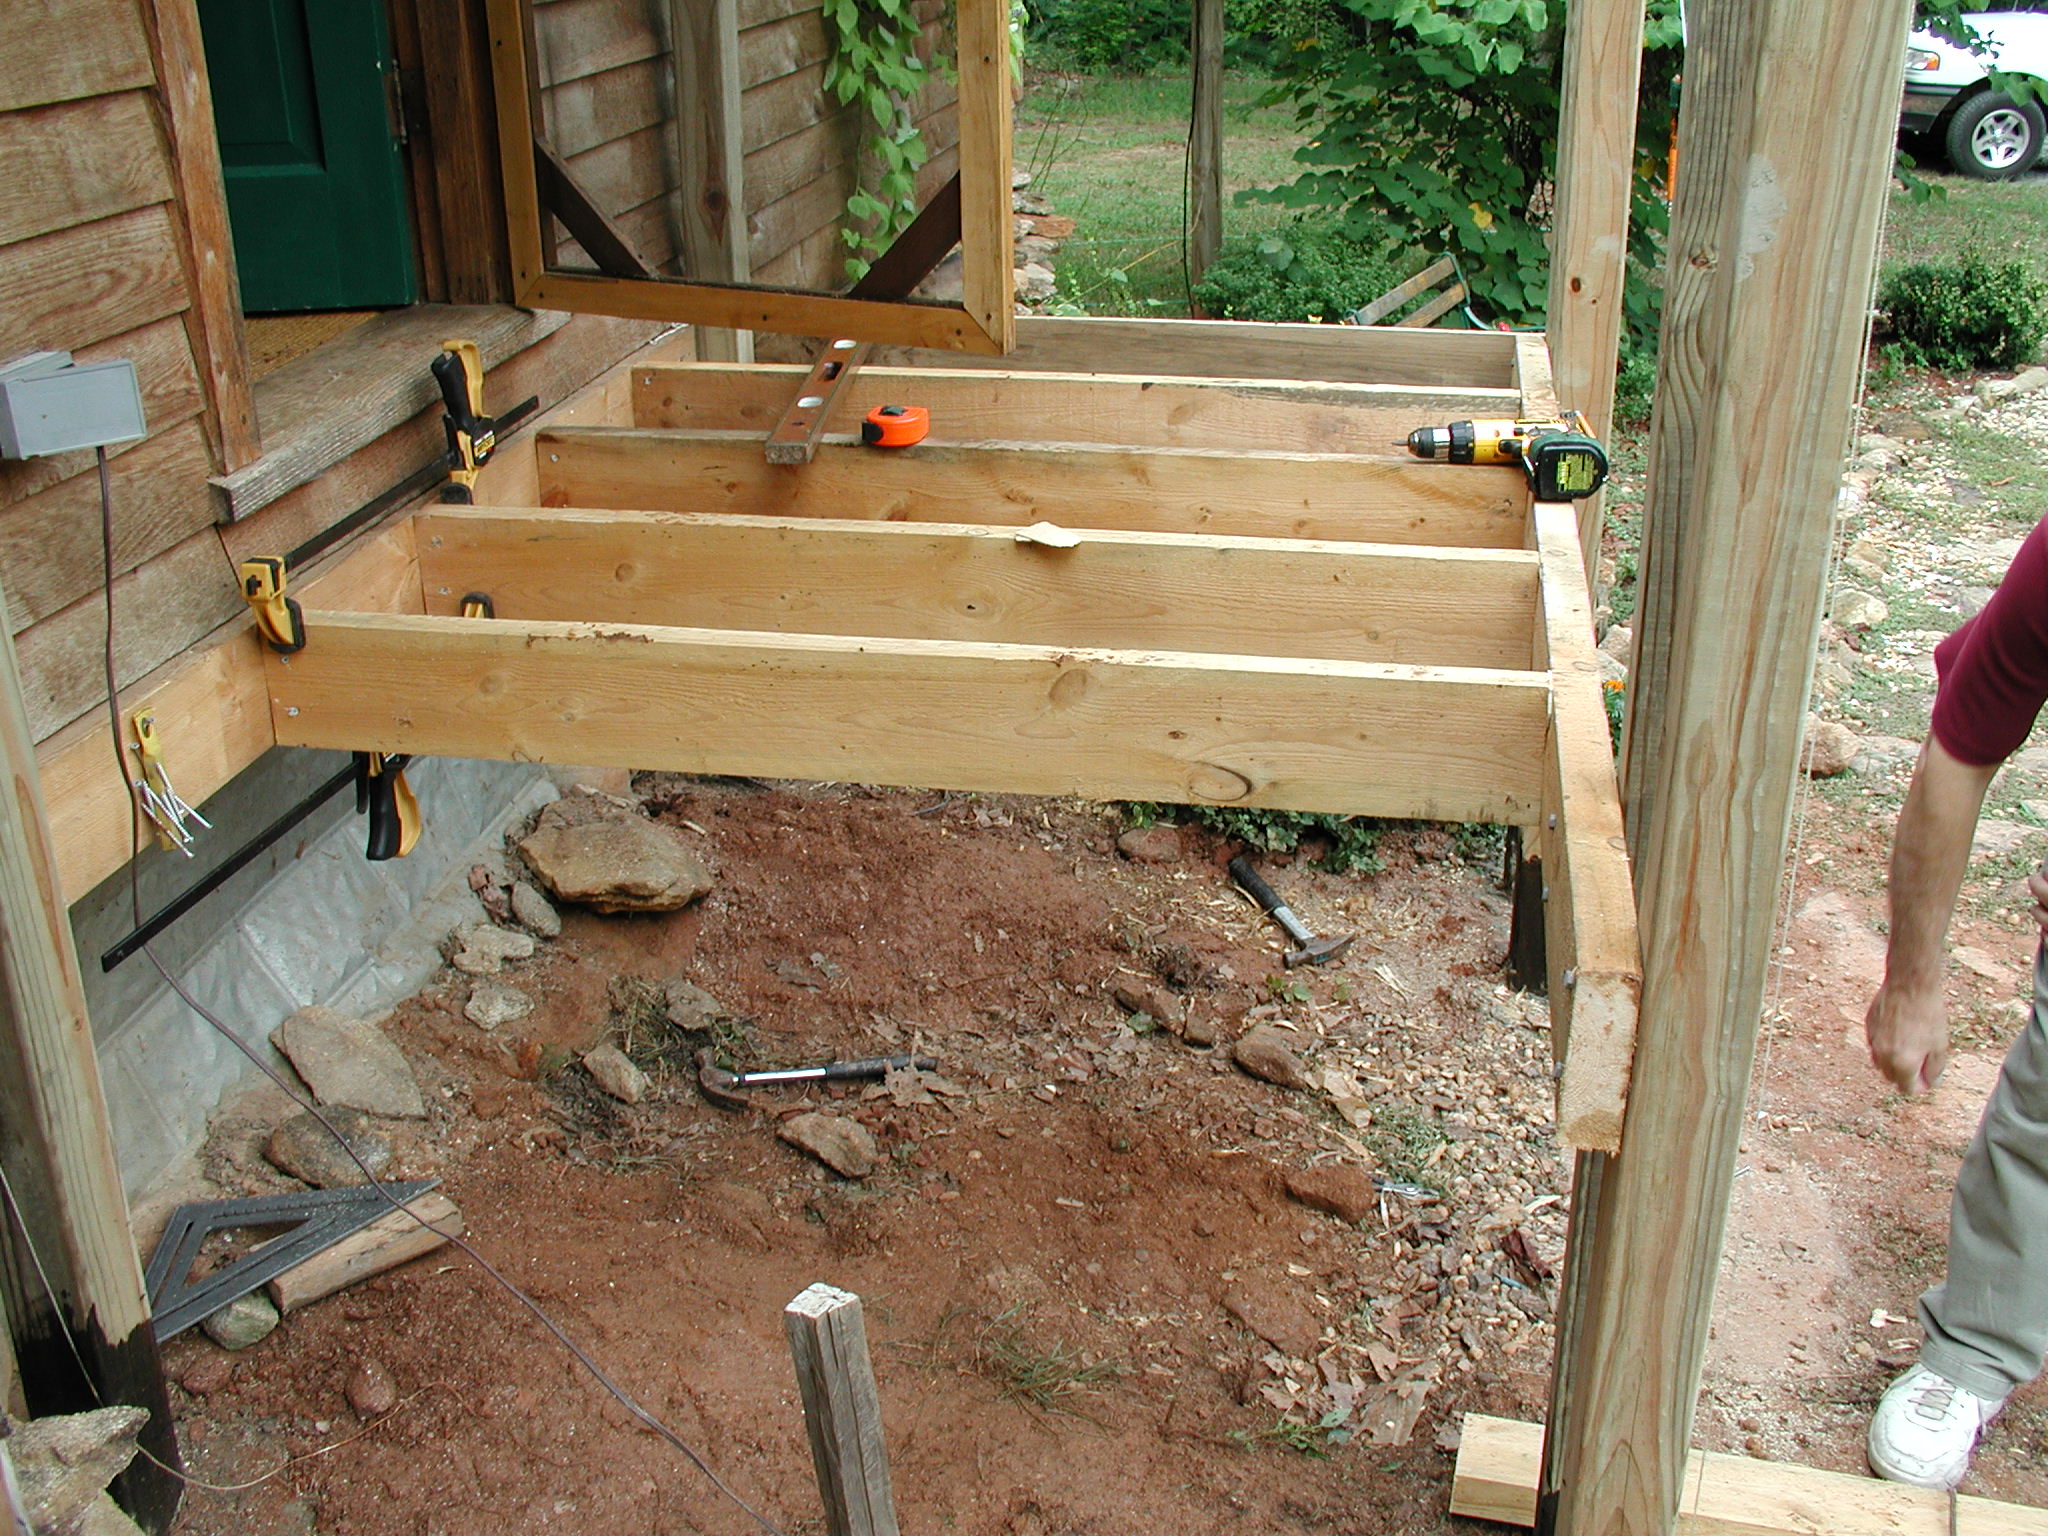
STANDARD CONSTRUCTION RULE TO FOLLOW: Floor joists should be 16 inches apart. This should be measured from center to center.
4th
Step: Lay it out for real. Find square and place posts. Square
is a misnomer in some ways because what it really indicates is that you have 90
degree corners. The shape can be a rectangle or square - as long as the
corners are 90 degree angles. This is harder than it sounds and for
me - because I often work alone - this is the most challenging part. So
let's just skip it - kidding. So I know where I want the corners to be in
relation to the front door. So the next challenge is to find the
corresponding corners 60 inches out from my house. No problem right?
Wrong. This step will determine if the rest of the project goes smoothly
or is a total headache which ends up looking like a train wreck. If you've
ever built to something out of square, you know where I'm coming from. 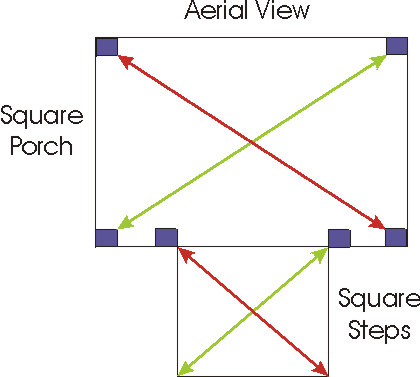
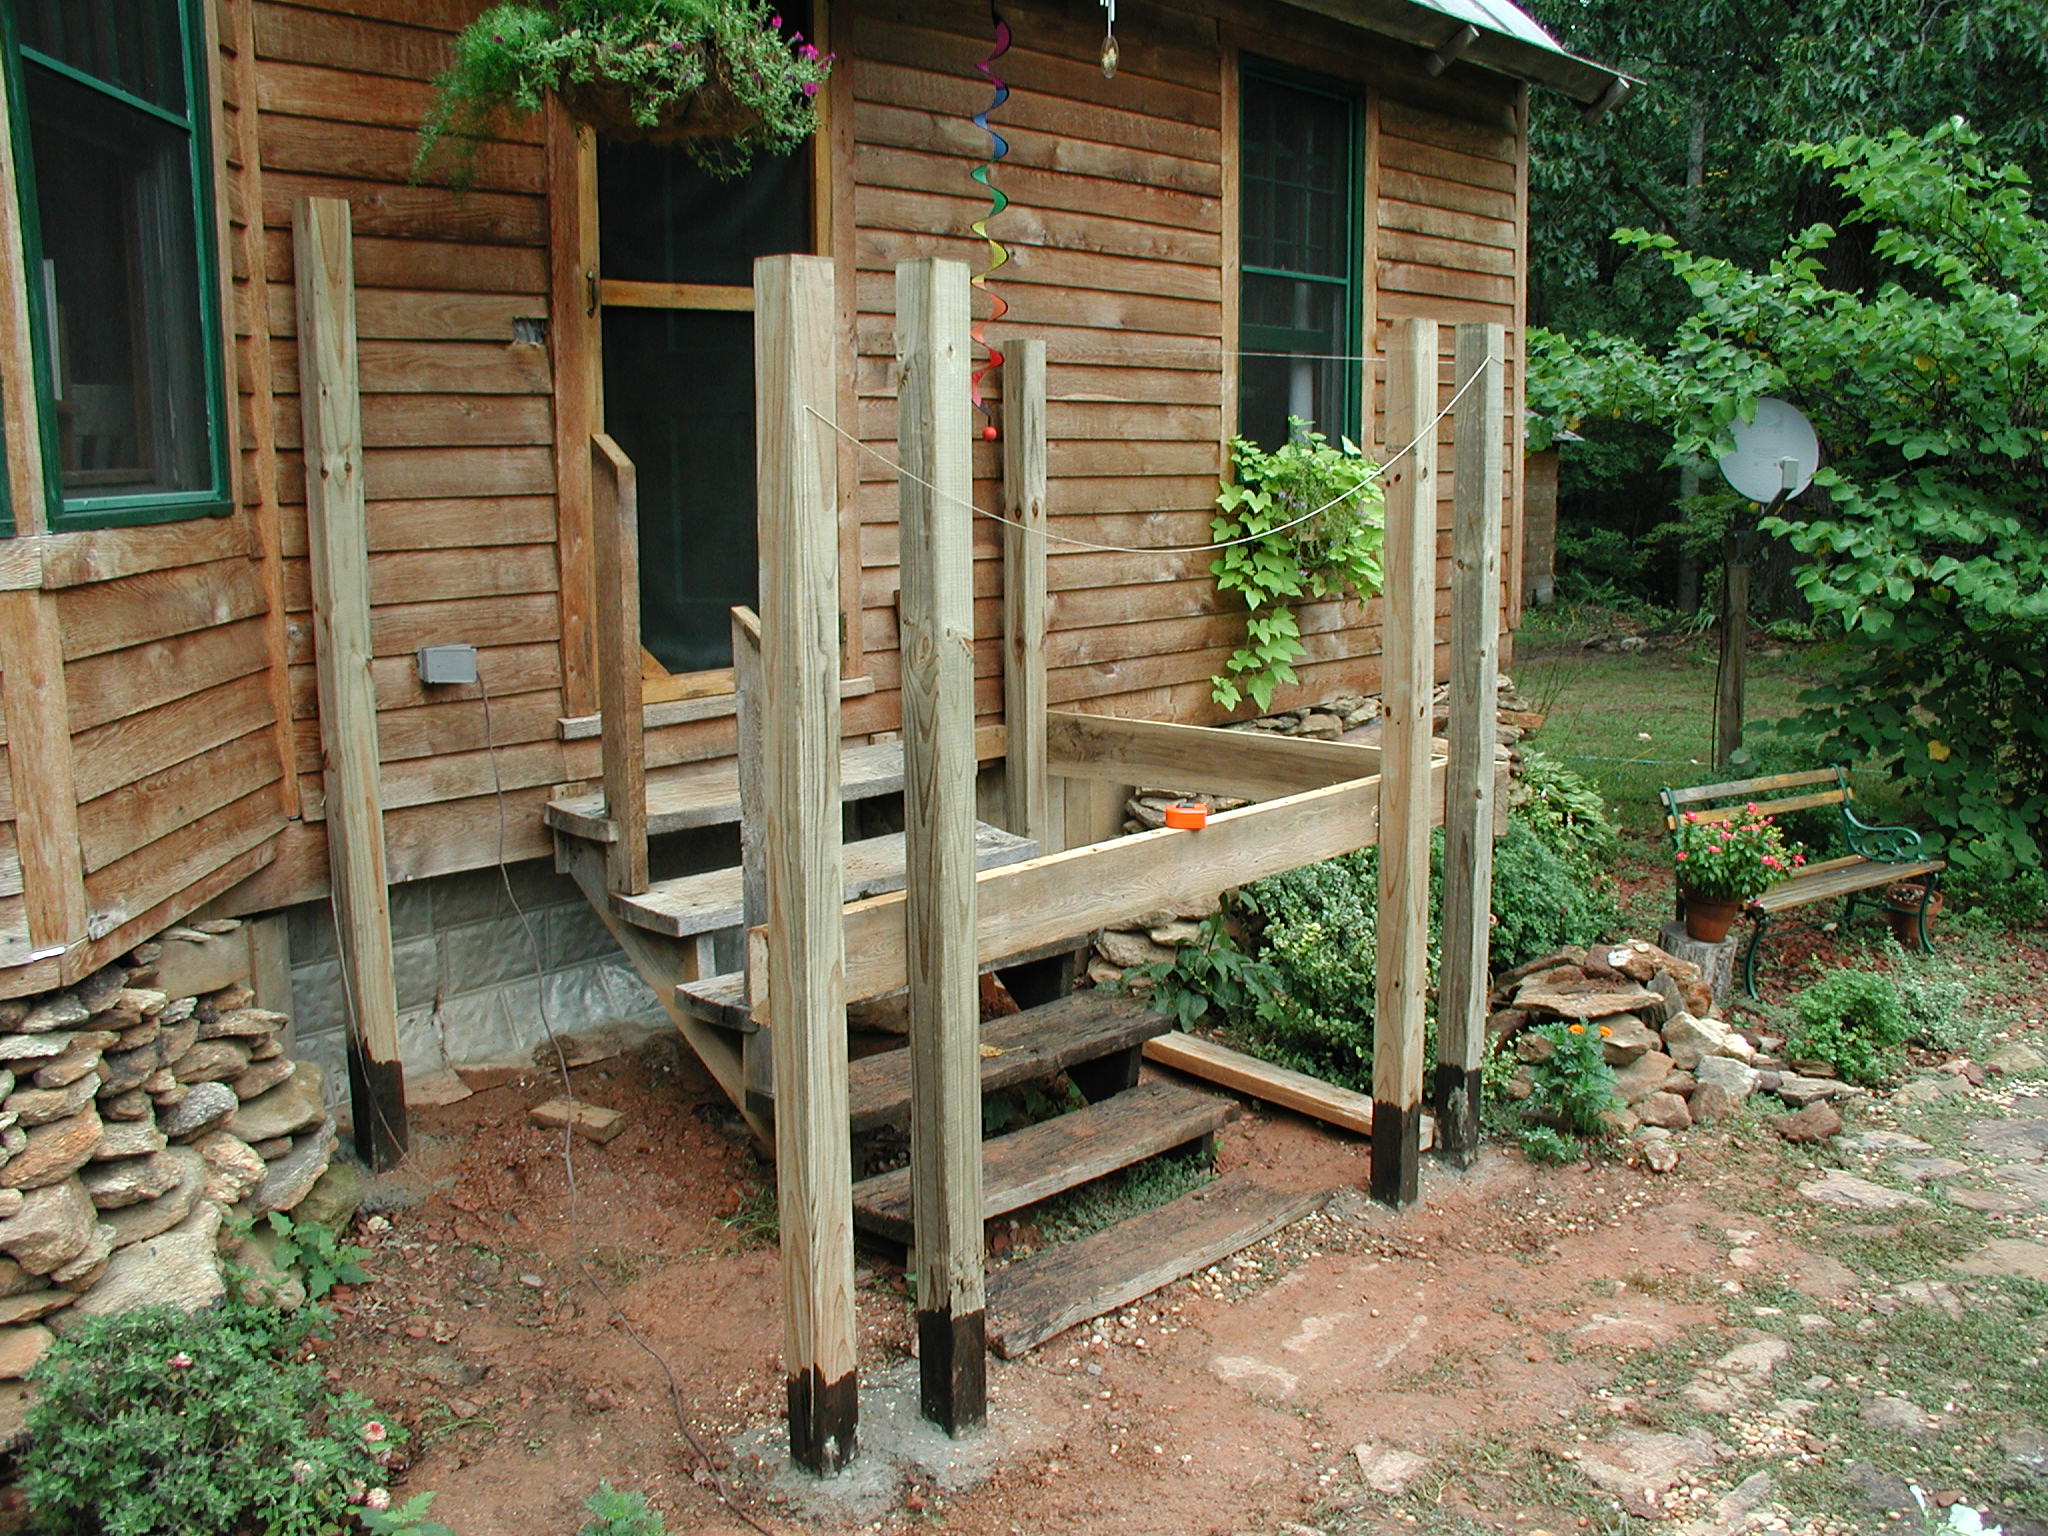
So what's the secret to square? Making sure the corner measurements are exactly equal (I usually give myself an inch tolerance but try to get perfect). Click on picture to right for enlarged visual explanation. Drive stakes in the ground where your first two points against the house are.
Then measure out the appropriate distance from these two points (in my case 60" since my deck is 60" deep). Make sure each point is equally spaced. In other words, make sure that your width and lengths are consistent. Push a stake in the ground to indicate the placement of these corners. Now, tie a string from each post to the post beside it. You will now have a box formed by the strings. I suggest each string be separate. This box represents your best guess so far at square.
Now, there are two ways to proceed. One is that you can use the 3, 4, 5, method. This means that at each corner you can measure 3 feet along the string in one direction, 4 feet down the opposing string and then measure to see if a diagonal that connects those two points is 5 feet. Thus is you measure 6 feet from a post along one side and 8 feet from the same post along the opposite side, your diagonol measurement from these two points should be ???? --- 10 FEET! I will provide a picture later. The second method follows. It requires less arithmetic skills.
The other method is a little less tedious but You'll probably need a helper. Both should have a tape measure. With each tape attached to a post and crossed as the arrows are in the picture, move left to right as needed till the cross corner measurements (see picture) are exactly equal. When found, drive a stake and take a break - you've got square!
Now dig holes (I used a handheld posthole digger). Make holes much bigger than your posts so you can use plenty of cement around the post. Dig to the frost line depth or as required by local codes. In my area, this is 18" deep. I dug to 20" so I could use about 2" of cement as a base for the post. I usually do not put posts directly in the ground. However, my local construction stores were out of "sauna tubes" and since this is a lightweight and most likely not a permanent structure, I decided dropping treated posts in the cement was okay. They will last 10-15+ years. If I want to keep the porch past this time, I will be forced to redo the support beams. I plan on redoing the front of my house in the next five years so I did not use tubes. I suggest you use the tubes.
Sorry - haven't finished this page.